This post is one of a three part series:
Part 1: Mugi urushi
Part 2: Sabi urushi
Part 3: Red and black urushi
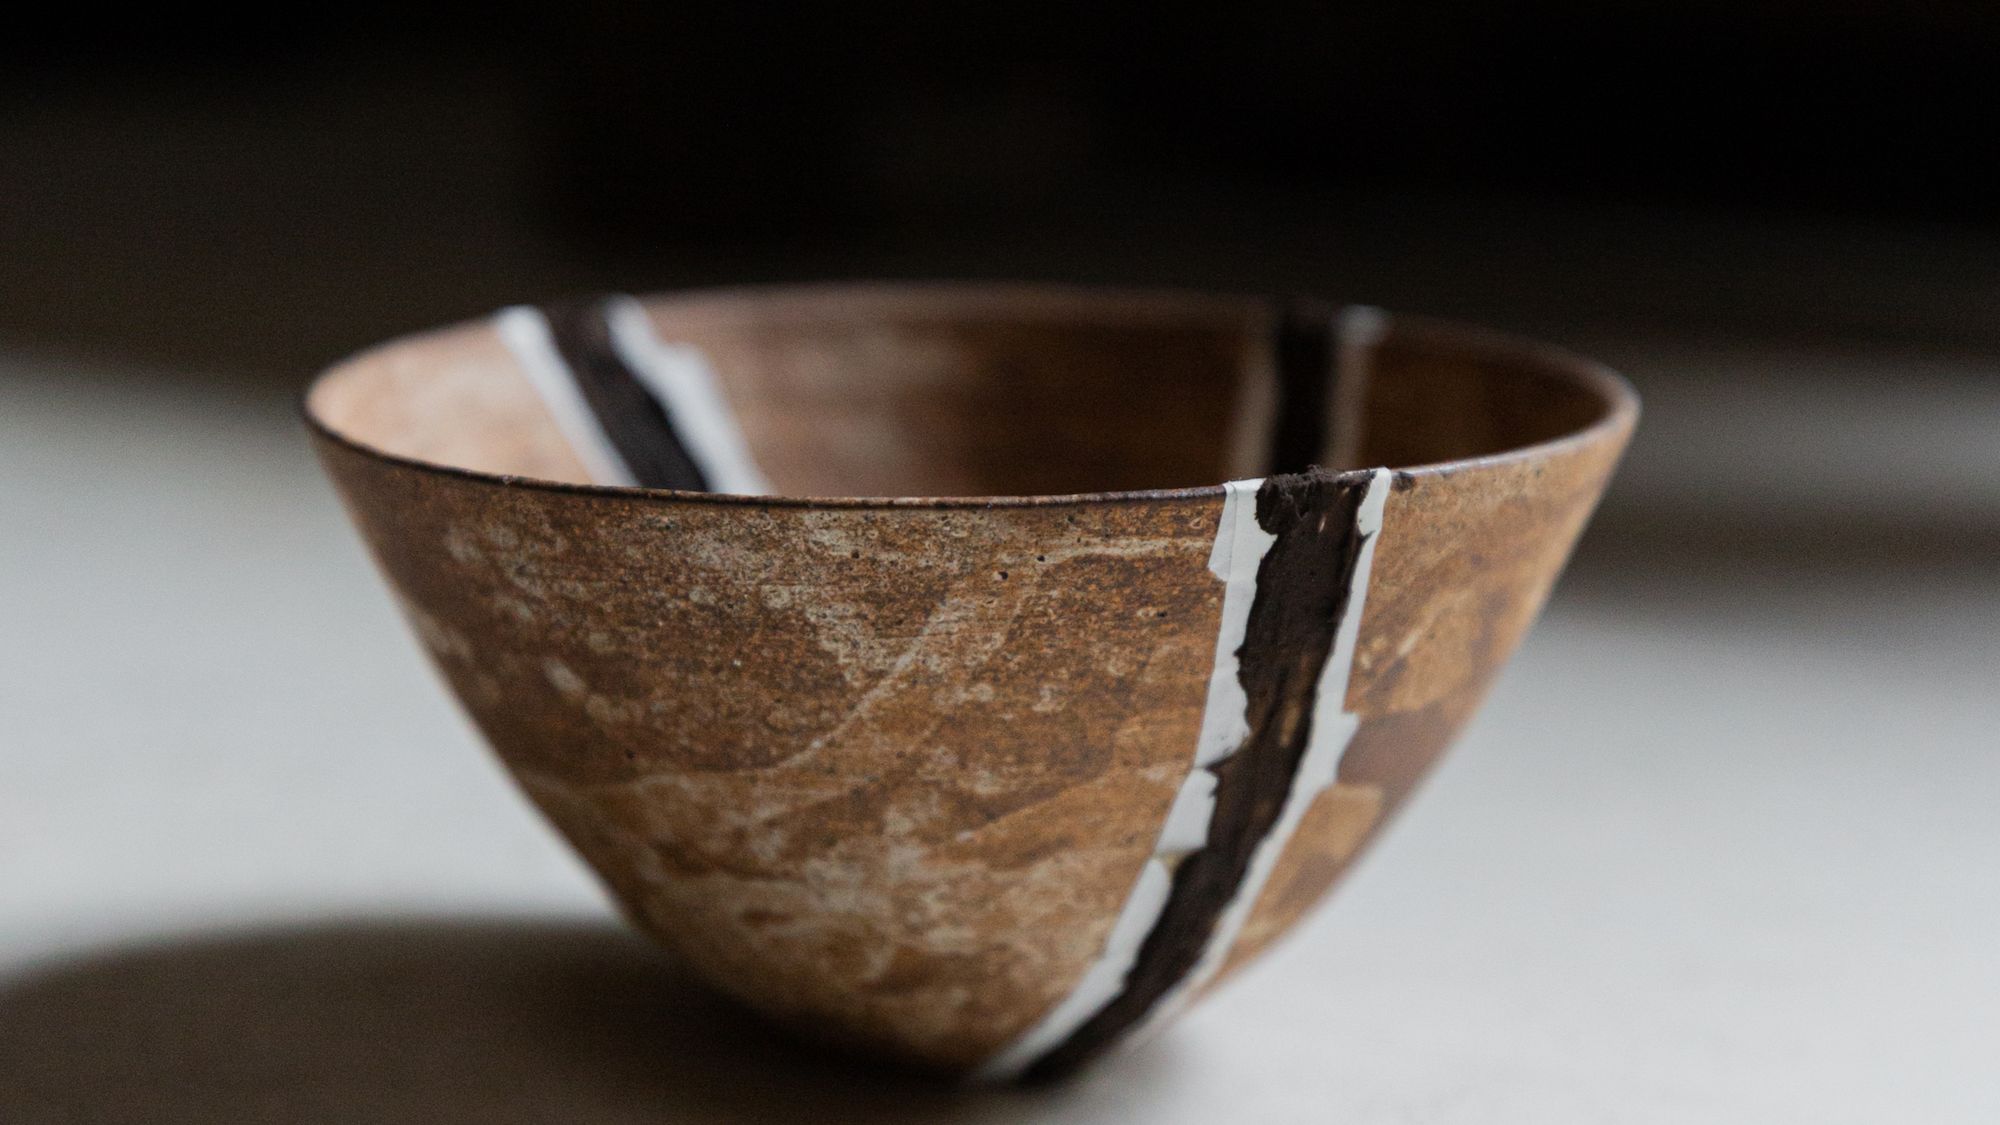
Once mugi urushi has been used to ‘’glue’’ broken fragments together,part 2 of the repair process is making and applying sabi urushi.
Sabi urushi is used to fill the nooks, crannies, and crevasses that inevitably still exist after the mugi urushi step.

Step 1
Make sabi urushi.
Step 2
Use a bamboo spatula to apply sabi urushi over the fracture.
Tip: Transfer the sabi urushi on the piece. Gently wipe excess sabi urushi off of the bamboo with a tissue. This allows for greater agility and control when spreading the sabi urushi.
Tip: Pack in the sabi urushi to remove any air pockets.
Tip: Apply a slightly thicker layer of sabi urushi than you might need as sabi urushi slightly shrinks upon curing, and to allow enough leeway to sand down.
Tip: Ensure the surface of the sabi urushi is as smooth and even as possible for more effective sanding after the sabi urushi has cured.

Step 3
Place the piece into muro to cure for one week.
Step 4
Gently sand the sabi urushi with 400 or 600 grade sandpaper that has been soaked in water.
Tip: Use lots of water - it is a wet sand.Be sure to wipe the surface with tissue often to check your work.
Tip: Rather than using arm strength, rely on the water and the texture of the sandpaper to do the work. Oversanding can cause unnecessary indentations and scars.
Tip: Tear or fold the sandpaper into a size and shape that will fit over the sabi urushi, and avoid scaring the original material of your piece.

