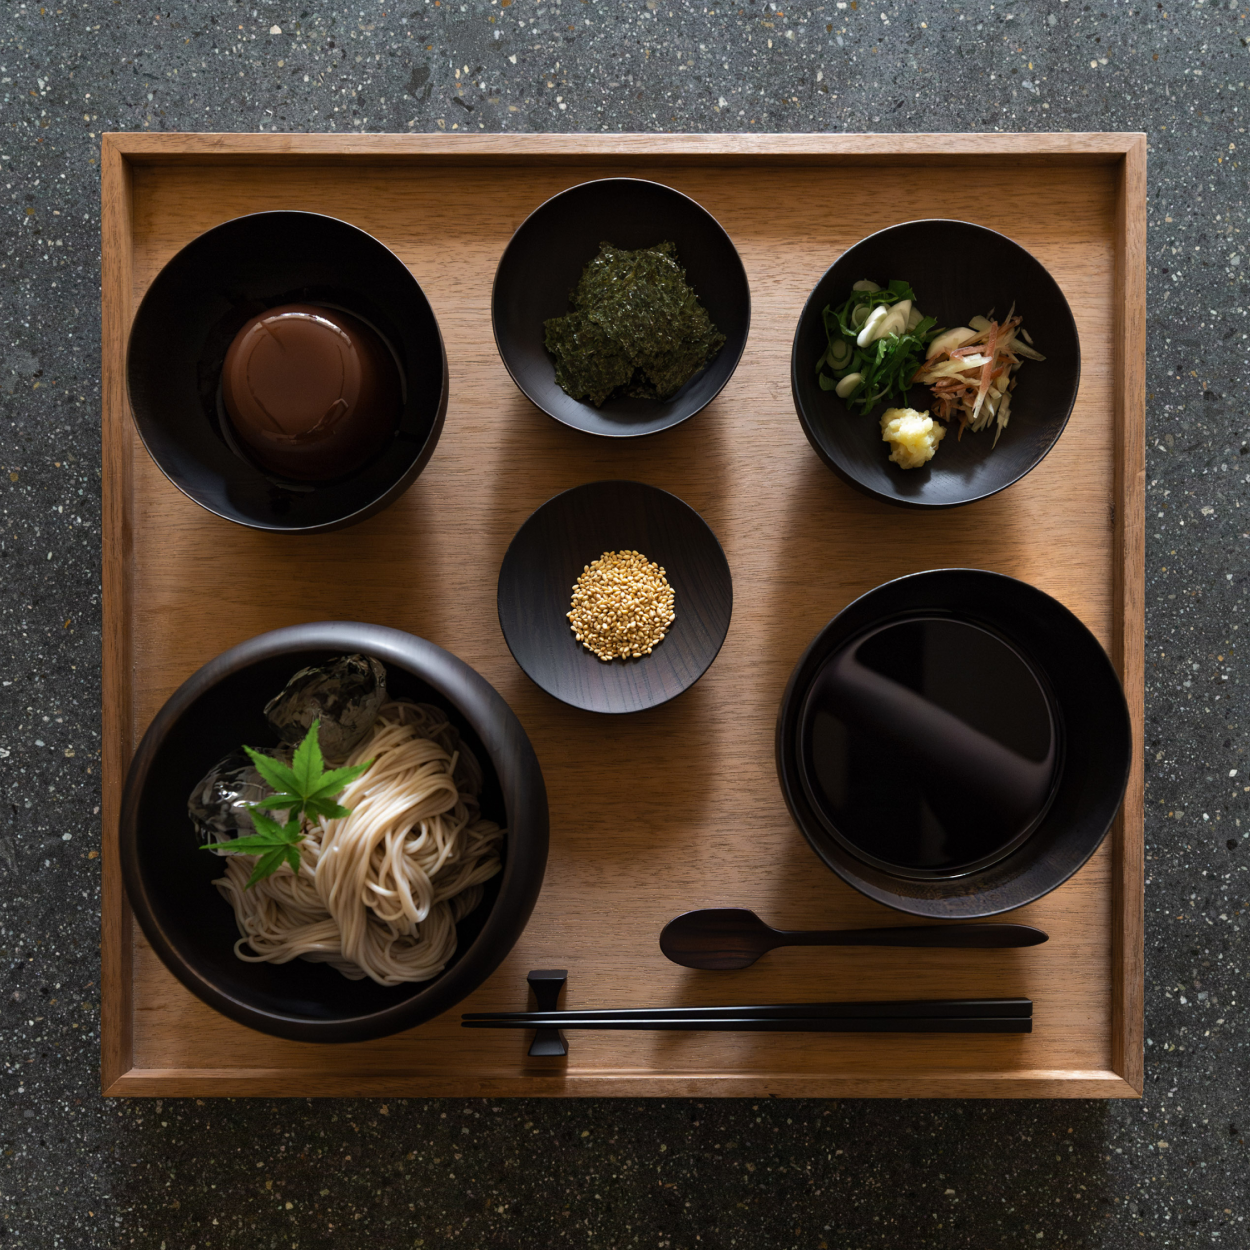

It is absolutely no exaggeration to say that gold is synonymous with kintsugi. At least in the perception of most. After all, the repair technique is called kintsugi. Kin = gold, tsugi = joinery. While gold is nothing but jewelry or decoration over the real work underneath, broken pieces are restored in thanks to the ultimate secret ingredient, urushi tree sap.
However, let's be honest, one of the great joys of restoring broken tableware using kintsugi technique is that gold finish. Brass is a brilliant alternative to gold when repairing flower vases or sculptures. Tin is ideal to achieve a mod look and feel, and silver is its food-safe cousin. The key points are the same no matter which metallic powder you choose to finish your repair.
TIP #1 PREPARE A SMOOTH FOUNDATION
This may be the most important tip. The final stage of the repair process is to lay over red urushi (eurushi) and black urushi (kuroroiro) one on top of the other, many many many times. At minimum three layers. But can be as much as five or six layers or more. Red urushi is the last layer if finishing in gold or brass, and black urushi is the last layer if finishing in silver or tin. The purpose of these many layers of red and black urushi is to fill any microscopic holes that may exist from the previous layers. They also serve the foundation for the metallic powder. This foundation needs to be as smooth and taut as possible, without the slightest nick, otherwise the metallic finish will only highlight these grooves.
TIP #2 SAND EACH LAYER
Sand each layer of red and black urushi with utmost care, using a fine grade sandpaper of at least 1000, preferably 1500. Wet the sandpaper and gently sand the layer to smoothen the surface. The sanding process is not aggressive, we are only looking to sand the urushi until the entire layer goes from sheen to matte. When the entire layer is matte, you know that the surface is completely flat. The microscopic scars made by the sandpaper will also help for the next layer of urushi to better adhere to the previous layer.
TIP #3 APPLY URUSHI IN THIN LAYERS
While it is easy to want to lay on the urushi quite thick when driven to create the smoothest foundation possible, this will often backfire. Urushi will dribble before hardening or shrivel when the outer layer hardens while the inner layer never gets the chance. This method backfires right before finishing with metallic powder as well. While the powder appears extremely light in weight, it is a metal and thus surprisingly heavy. So if that final layer of red or black urushi is too thick, the metallic powder will simply sink to the bottom.
TIP #4 CURE FOR 10 MINUTES
Once the final layer of urushi is applied to serve as the adhesive for the metallic powder, cure the piece in the muro for 10 minutes. In addition to applying an ultra thin final layer of urushi, these 10 minutes in the muro help to harden the urushi just a bit to help the metallic powder sit on top of the urushi rather than sink to the bottom.
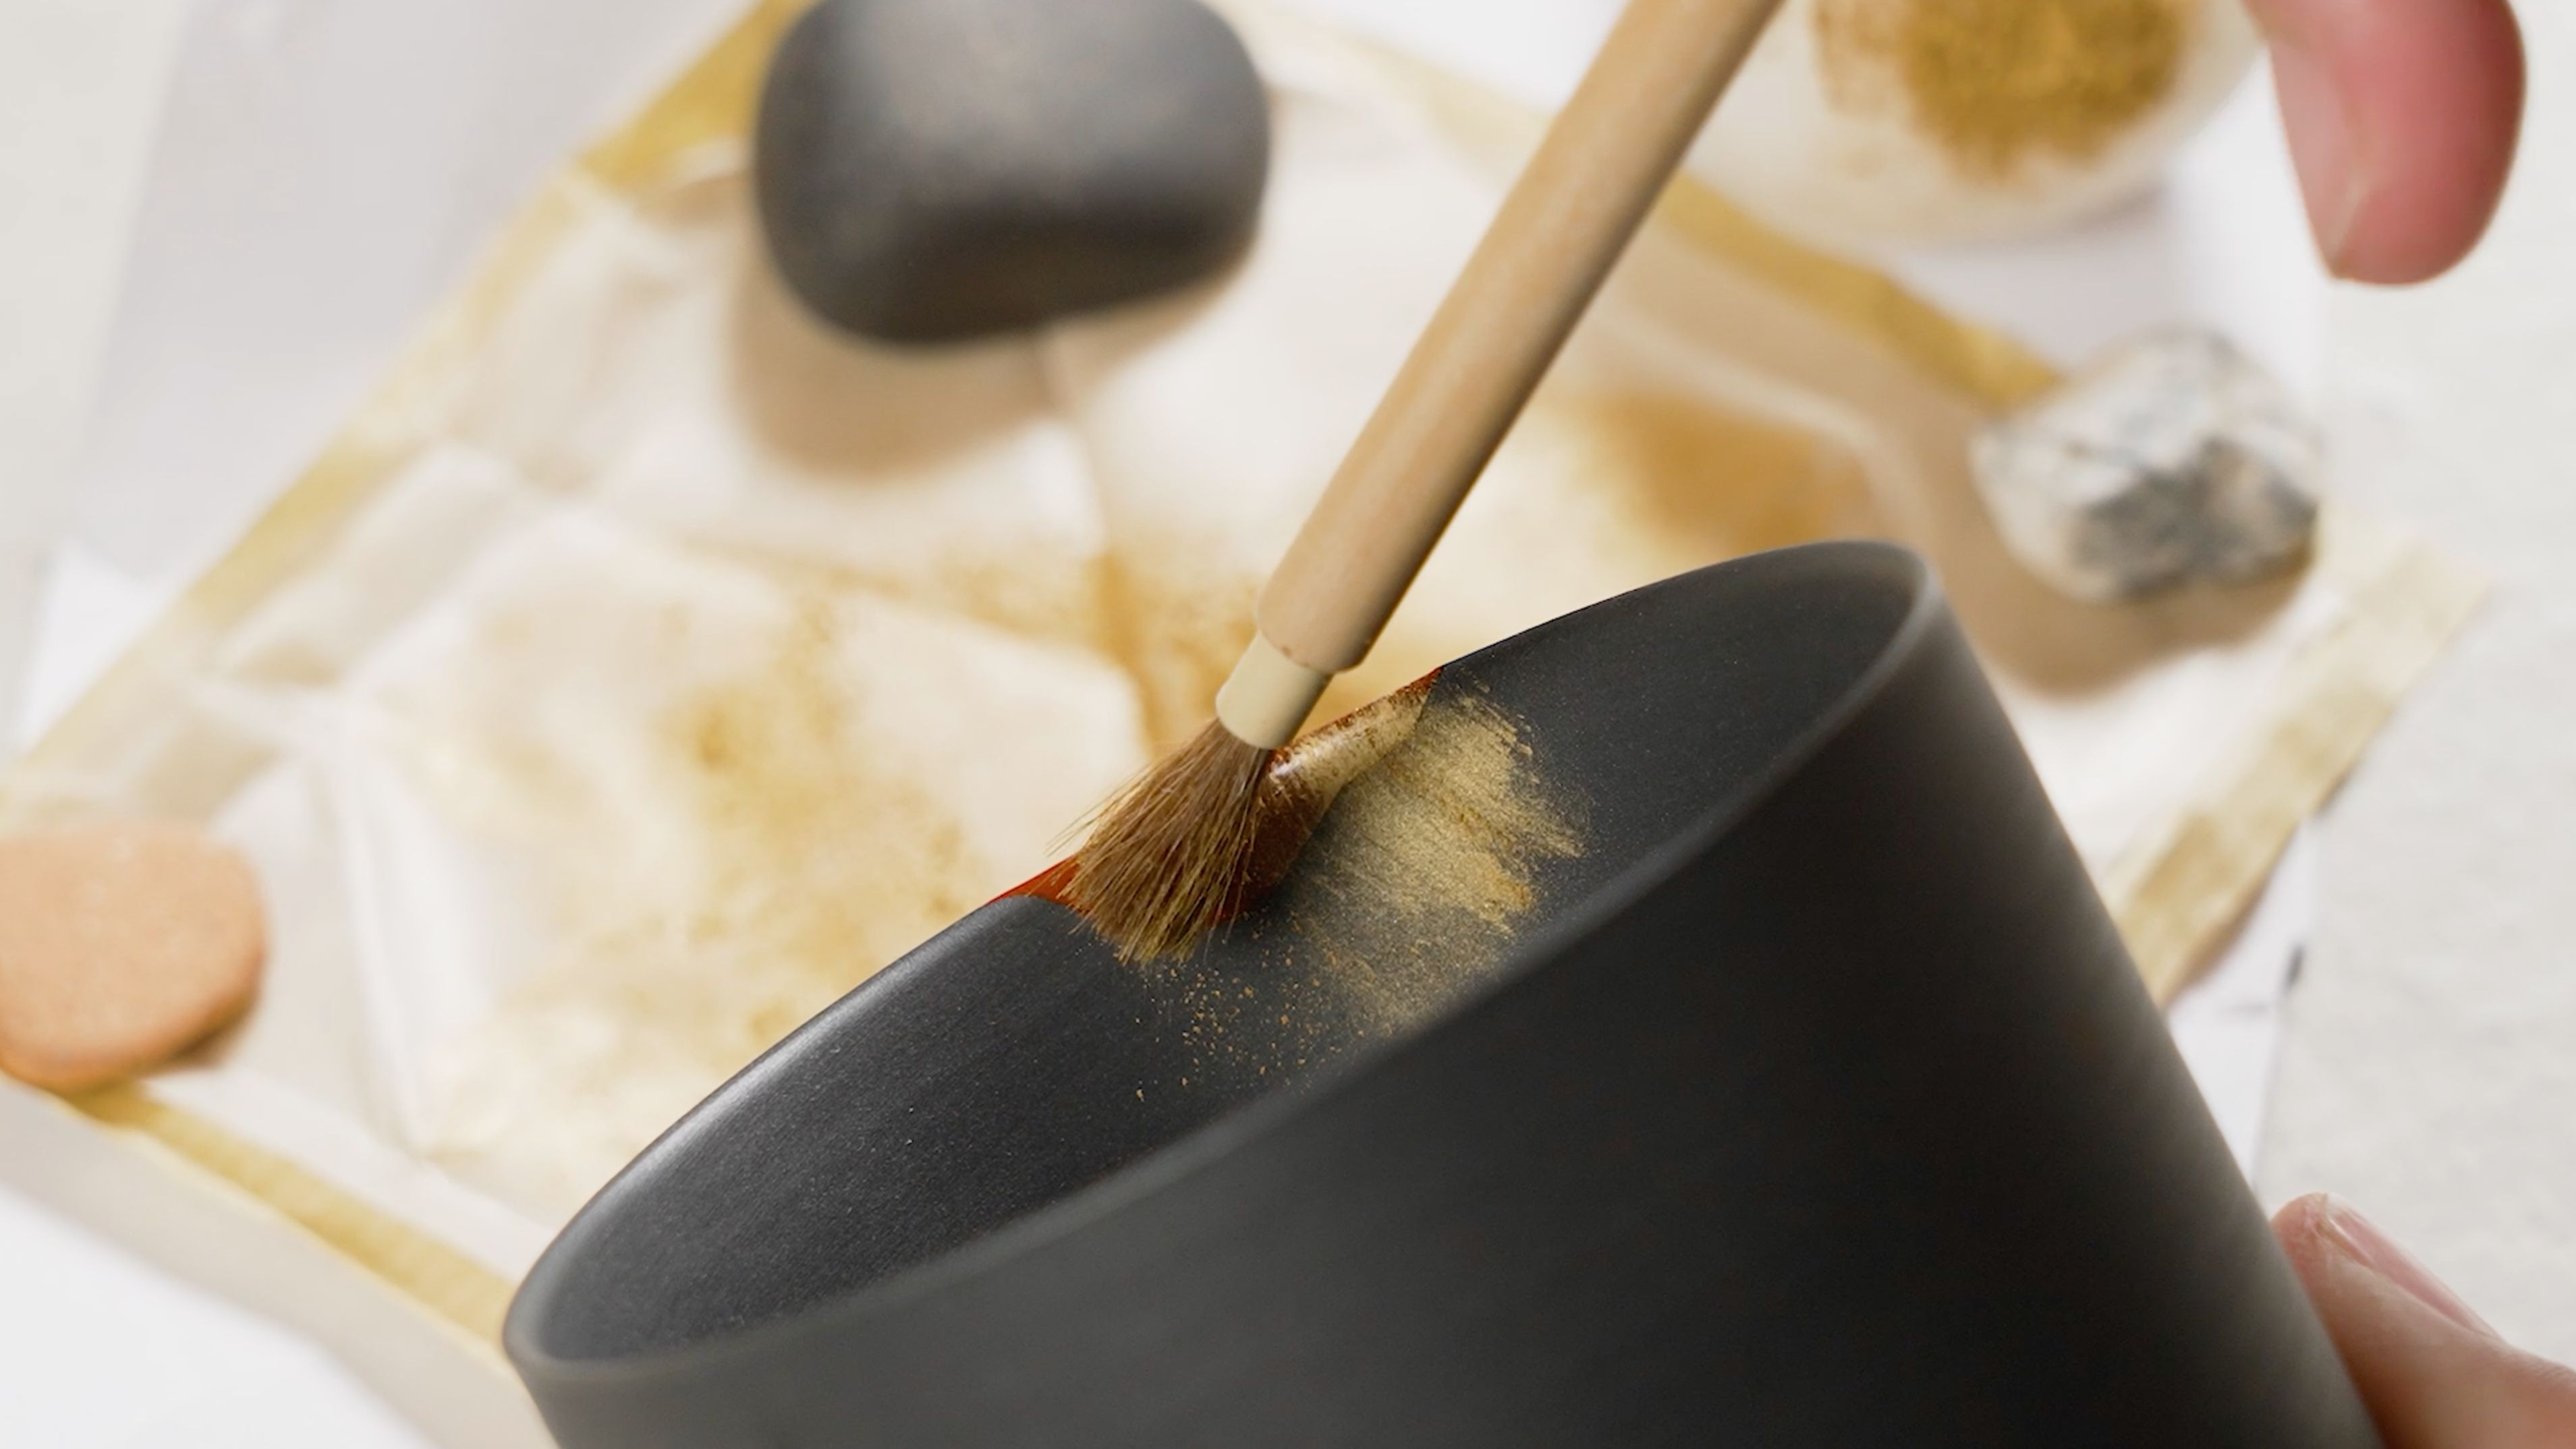
TIP #5 TRANSFER WITH HORSEHAIR
Transfer the metallic powder by picking it up with a horsehair brush as if it is a spoon, hovering over the final layer of urushi, and tapping the brush to let the powder snow on top of the urushi, without touching it. Once the surface is covered in metallic powder, it is finally safe to touch with the tip of the horsehair brush to very gently dust off excess powder.
TIP #6 POLISH WITH MAWATA
Once the metallic powder is transferred to the surface and the excess dusted off, the metallic particles are still a big rigid. Fluff up the 100% silk mawata cloth and make into a fluffy but smooth cotton ball. Polish the metallic surface in gentle circular motions to settle the powder into place and successfully flatten and smooth the surface. You will notice a considerable difference in the sheen and strength of the final product.

