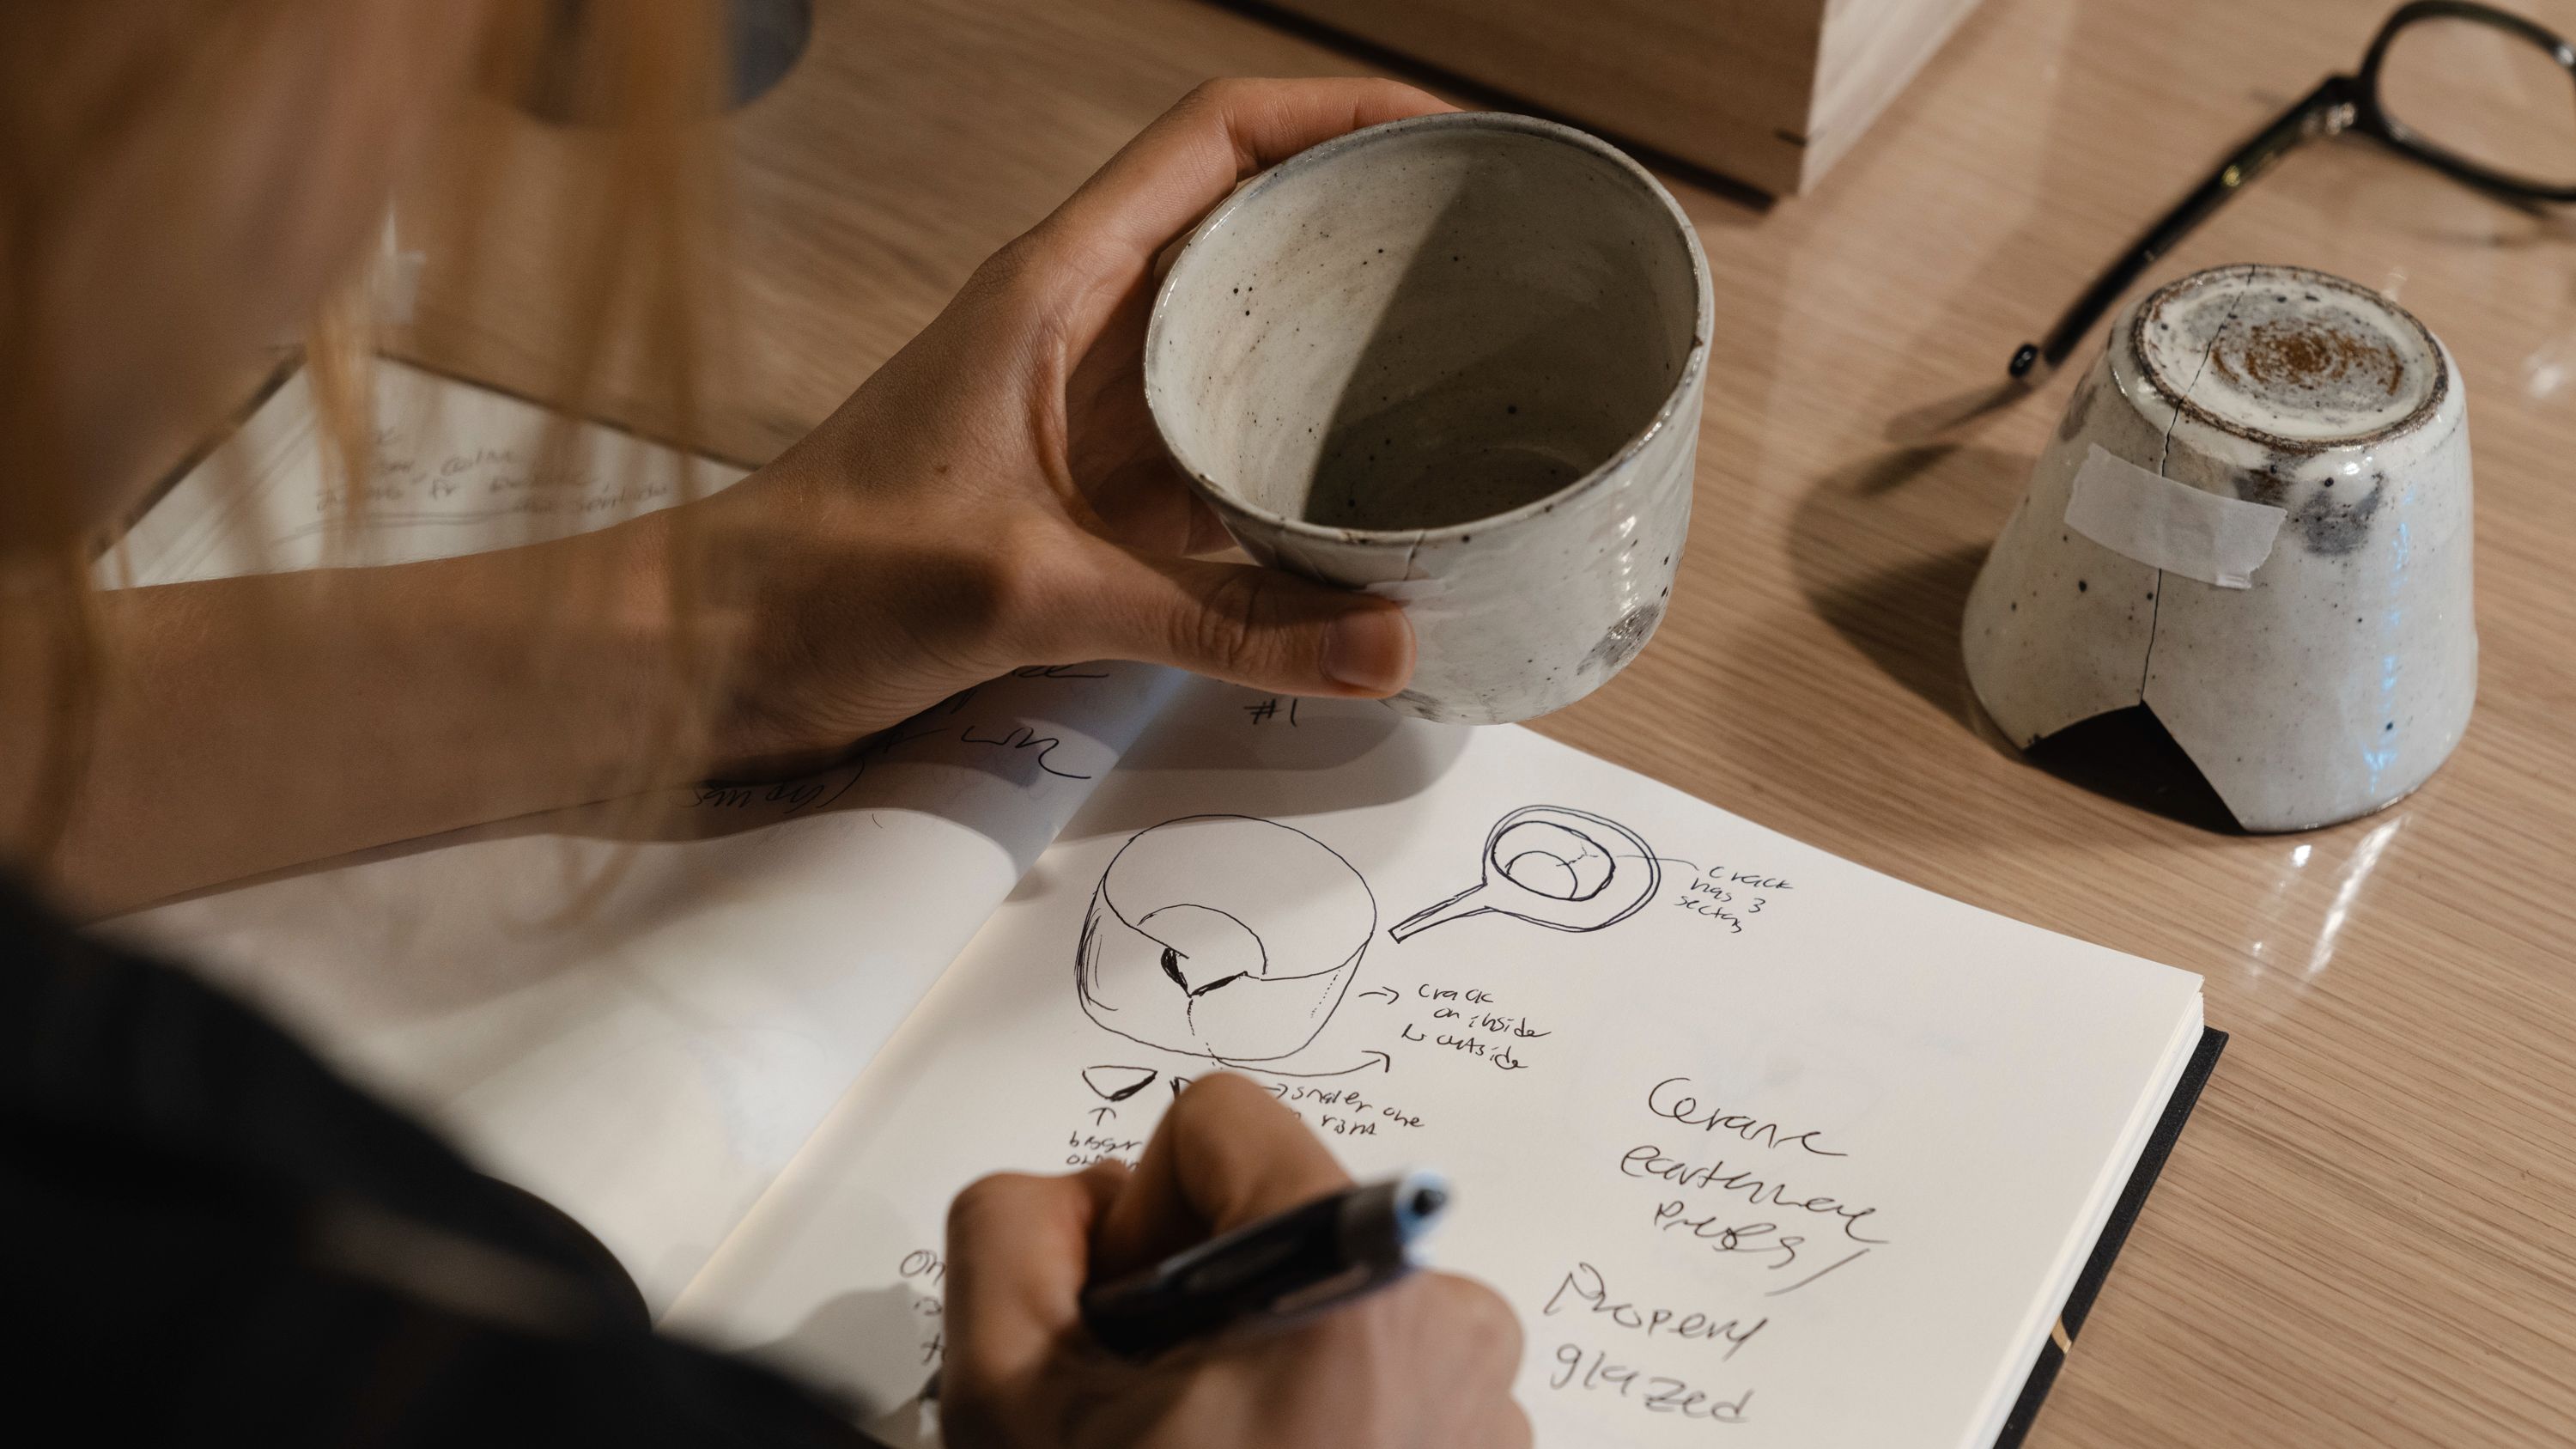
Even before repairing a piece, we always recommend Step 0: Creating a Patient Chart. This requires thoroughly assessing the piece in front of you and one of the most important variables to identify is “is it glazed?” The answer to this question determines how we approach the kintsugi-repair process.
GLAZED
Glazed pieces are characterized by a glassy, smooth coating applied to the surface of pottery before going into the kiln. Often, glazes help to protect the piece as it's being repaired.

Tips:
Gently wash your piece with a soft sponge and warm soapy water to remove dirt, dust, and most importantly oil.
After cleaning, ensure that the glazed pottery is thoroughly dried before proceeding with kintsugi-repair. Be sure to wipe off any moisture after washing the vessel and air dry in a well-ventilated area.
Urushi will not adhere effectively to well-glazed surfaces due to the tight pores of the glaze. Before applying kiurushi to cracks, tracing the fractured line and gently scaring it with a diamond file may help urushi to absorb into the piece and effectively seal the crack.
While glazed pieces do not need to be meticulously taped before beginning the process, as urushi will not adhere easily, masking the parameter of chips and breaks to help during cleanup after the urushi has cured.
When removing excess mugi urushi or sanding sabi urushi, take care not to scratch the glazed surface. This can be achieved by ensuring blades slide along the surface rather than piercing it, as well as cutting sandpaper into smaller sizes.
UNGLAZED
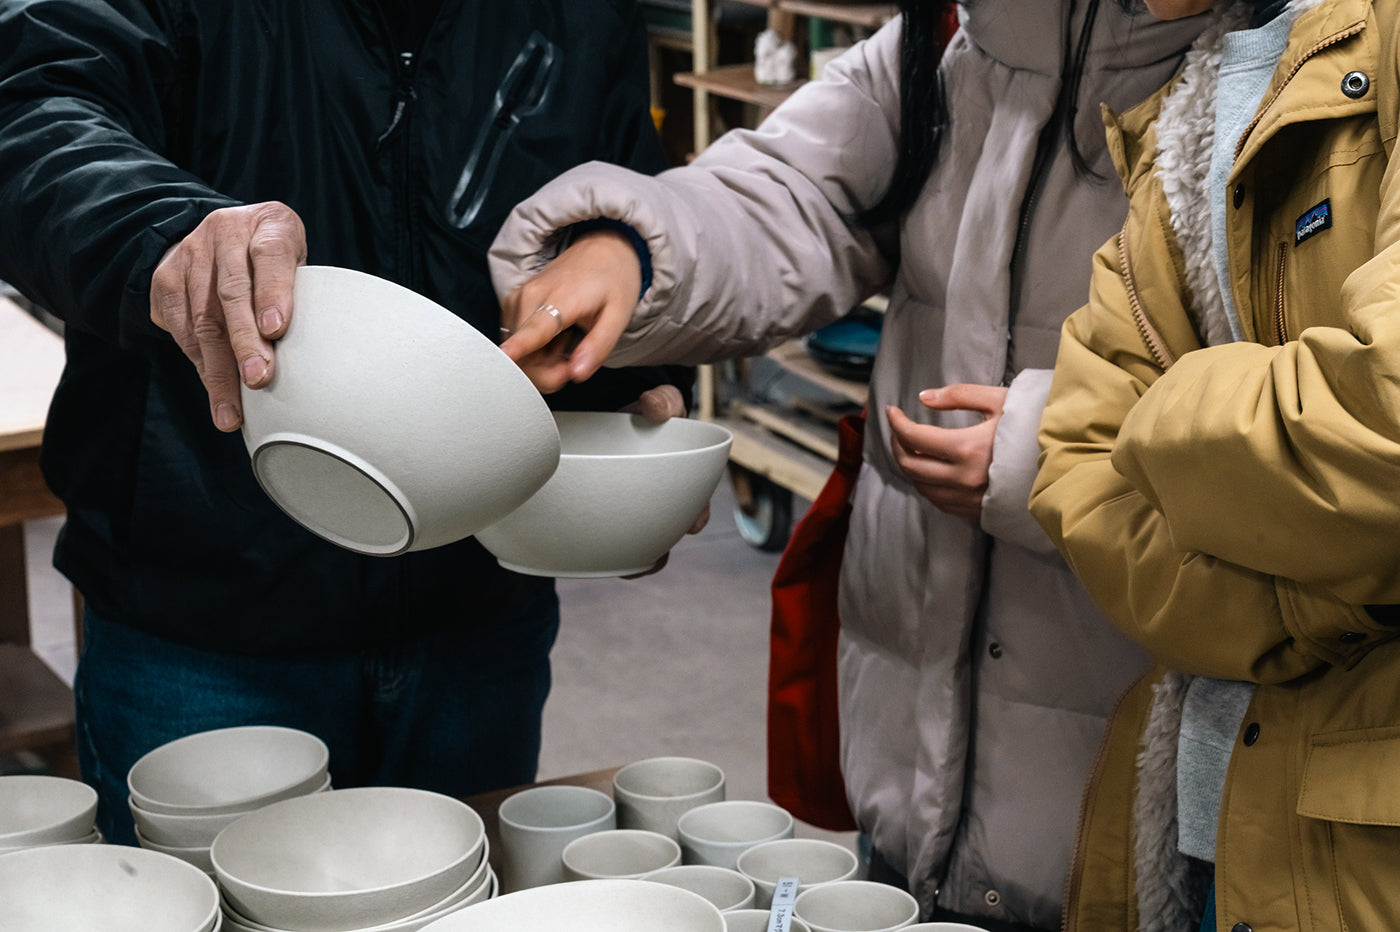
Unglazed pottery has a natural, matte appearance. Their porous nature requires extra care to achieve a beautiful repair.

Tips:
Gently wash your piece with a soft sponge and warm soapy water to remove dirt, dust, any residue from previous adhesive applications, and most importantly oil.
After cleaning, ensure that the glazed pottery is thoroughly dried before proceeding with kintsugi- repair. Be sure to wipe off any moisture after washing the vessel and air dry in a well-ventilated area.
Preparing the surface: Because of their textured surface, unglazed pieces do NOT usually need to be roughened by sanding or diamond files pre-urushi application.
Due to the porous nature of unglazed pottery, these pieces should be thoroughly taped before each stage of kintsugi to protect urushi from staining unnecessary areas. Mummifying the piece completely may be the safest bet.
 Taking quick note of the glaze is critical to ensure a high quality kintsugi-repair so don’t forget to make a Patient Chart!
