
Kintsugi technique is intended and best suited for the restoration of ceramic and porcelain tableware. Other materials and types of wares are possible to repair, but it all started with one porcelain tea bowl in Kyoto, about 500 years ago.
So how does one do kintsugi exactly?
The details of the kintsugi-repair process differ based on several variables that can be determined by creating a patient chart. The patient chart serve as the blueprint for how to go about the repair. It is highly recommended to take the time and care necessary to create a thorough chart before beginning.
More often than not however, we abide by these three basic phases.
PHASE 1
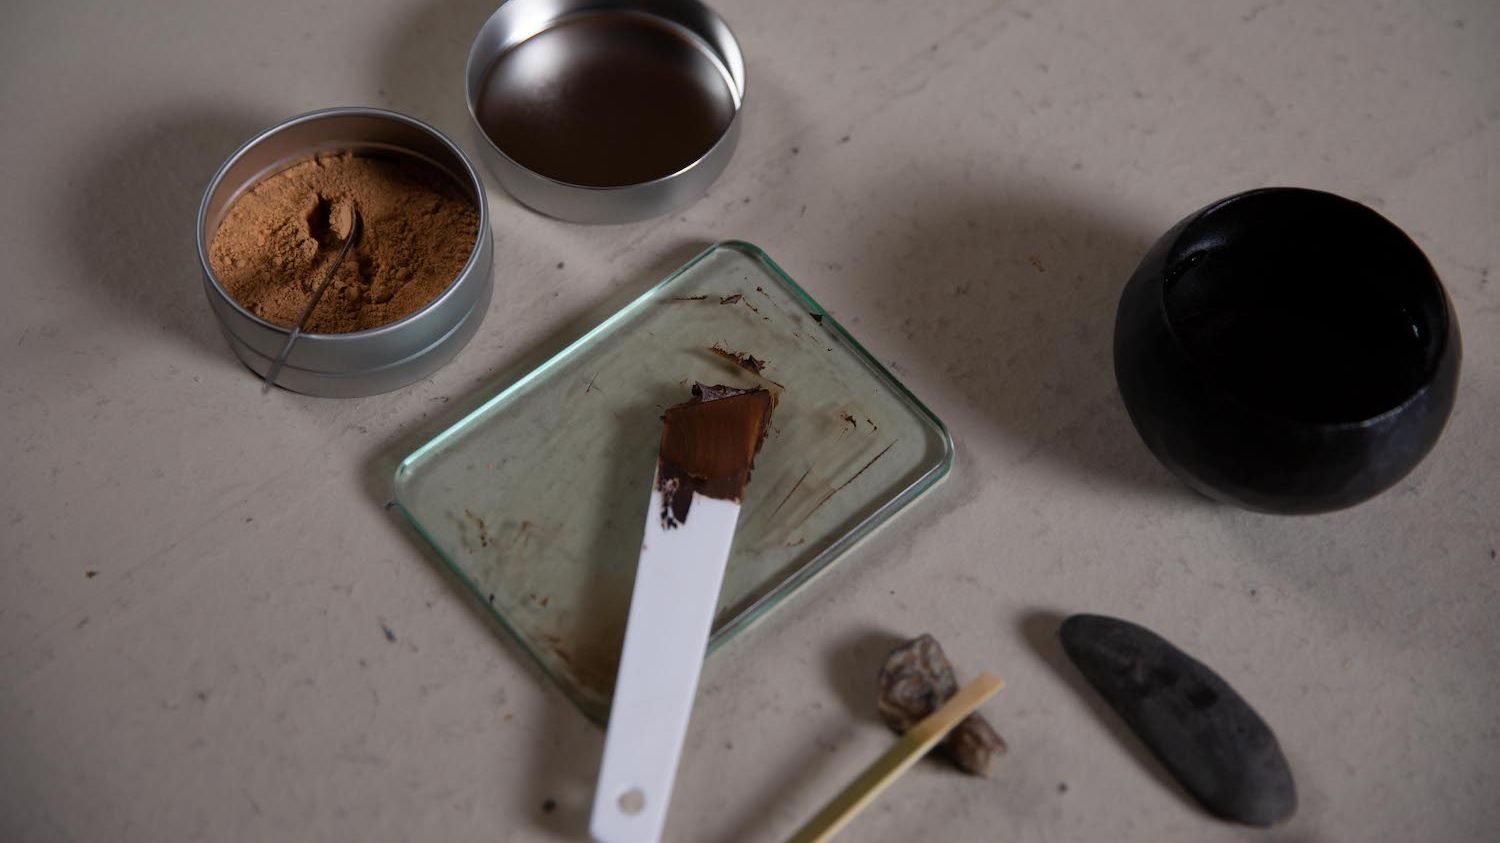
Create a glue called mugi urushi and apply to both surfaces of broken pieces and put them back together like a puzzle.
Into a well maintained muro for one week.
PHASE 2
Create a creamy paste called sabi urushi to fill grooves and crevasses that still remain along the fracture, as well as any small chips.
Into a well maintained muro for one week.
PHASE 3
Create a protective sealant by apply alternating layers of red and black urushi, which also serve as the smooth foundation for any metallic finish.
Into a well maintained muro for one week after each layer of red or black urushi.
Simple repairs take about 2 - 3 months to complete, whereas more complex repairs may take up to a year. The labor time is limited, however the curing time between each step of the repair process results in the length of the overall process.

